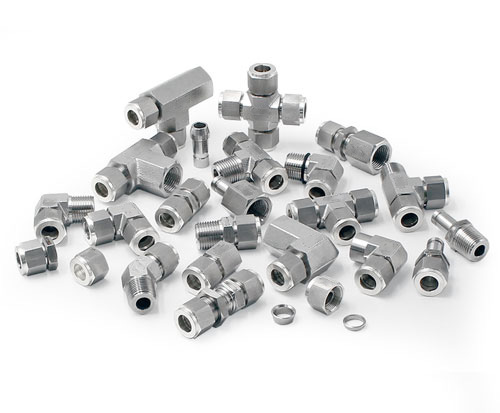
D-LOK Fittings are supplied assembled and finger tight.
Disassembly before use can allow the entry of dirt or other particles.
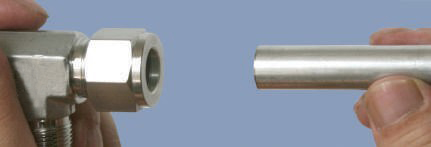
Step 1. Insert the tubing into the fitting.
Insert the tubing into D-LOK Tube Fitting’s inside. At this moment, make sure that the tubing is completely contact with the shoulder of fittings and then finger-tighten the nut check that the tube rests firmly on the fitting shoulder and that the nut is finger tight.
Step 2. Mark the starting point
Before tightening the D-LOK nut, it is recommended that a scribe mark be drawn on the hex of the nut extending onto the fitting body. This mark will serve as an indicator for the starting point and proper pull-up mark the starting point of turning at the 6 o’clock position.
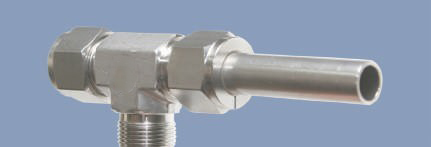
Step 3. Tighten the nut.
Hold the fitting body safely with a backup wrench and tighten the nut 1-1/4(pay attention to the mark of starting point of turning, make one revolution and place at 9 o’clock position marking the starting point of turning at the 6 o’clock position will let you notice where the starting point is)
1-1/4 turns of the nut are required for 1/4” (6 mm) and higher 3/4 turn of the nut is required for 3/16” (4 mm) and lower
REASSEMBLY INSTRUCTIONS
D-LOK connections may be disconnected and remade repeatedly, without loss of leak tight seal.
Before disconnecting, mark the position of the nut in relation to the fitting body
To reassemble, use a wrench to tighten nut to original
Tighten slightly with wrench until a slight rise in torque is